
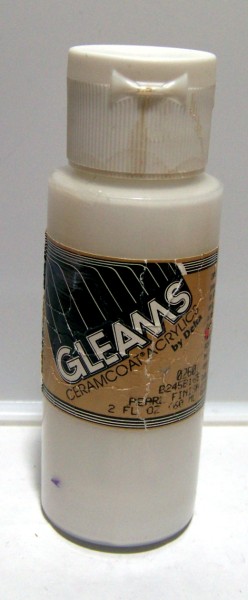
Here I go again - focusing on topics that are hard to see in pictures. Today I'm looking at how to make your own glimmer spray and use it to make your own glimmer paper. To make the spray, I just added water to some old white pearlescent acrylic paint that I had on hand (and I mean old - I'm guessing I got it at least 10 years ago!). I didn't measure it, but would guess I used somewhere between 1 and 1 1/2 teaspoons of the paint and then just added water until the bottle was 3/4 of the way full and shook it well to combine. I'm guessing my spray bottle is a 2 ounce bottle. You probably want to be sure you have one with a lid to keep the sprayer from getting dried out.


It's nearly impossible for me to get a good picture of this effect, but the picture above shows a piece of blue cardstock without the spray paint and the one below has the paint on it. In person, the color doesn't change much - it's a bit lighter in some spots if the paint gets sprayed really thick. What you see, is simply a lovely misty-sparkle when the light hits it. It really looks like glimmer paper!

- Placed my die on the yellow cardstock and then stamped in blue ink (so the stamp wouldn't run into the decorative edge). I stamped on a double-layer of fun foam, and pressed hard at the edges so I could be sure the die wouldn't interfere with stamping where I wanted the ink to be.
- Cut and embossed the piece with my Spellbinders die and my Grand Caliber machine.
- Colored the flowers in with smooch ink and the dots in with a blue ink pen.
- Sprayed it with my home-made misty spray. NOTE: In the future, I would not add ink pen until after spraying, because that ink ran (the Smooch was fine).
- Cut and embossed the blue mat shown above and sprayed it with my misty spray.
- Popped the yellow piece up on foam tape.
The patterned paper was from the paper swap. I matted it on blue cardstock (I didn't spray this one but I DID cut out the center of it to use somewhere else). I finished it off with an embossed strip border made of the blue cardstock. After embossing, I sprayed it with my sparkle spray, then colored in some of the raised areas with Smooch ink and then finished it off with Liquid Pearls dots.
I love this spray and I've got several colors of leftover paint, so I need to find some spray bottles and make some more colors. I can't wait to play with them!
No comments:
Post a Comment