Please let me hear from you!

This blog is for sharing a love of paper crafting. You can also check out my Pintrest pages. If you find the ideas here to be helpful, I'd love to hear from you. It is what helps make the time I put into this blog feel worthwhile, and always brightens my day. I love hearing your ideas too!

(To leave a comment, scroll to the bottom of the post. You will see how many comments there are for that particular post. Click on the number of comments and the comment window will open. Also, if you want to add a link to something, follow the instructions at the bottom of this post.)

NOTE: If you click a link from the menu (below left) and are told the page does not exist, chances are good that it's a prepared post that will post at some point in the future, so be sure to check back!

You can also click this Pinterest Button to pin pictures in the blog posts.


Tuesday, June 30, 2020

Twin Unicorns


My twin grand-nieces have a birthday coming up  - and they like unicorns.  So I made a unicorn card for each of them thanks to the folks at CraftsUPrint.  Above is what it looks like when opened & standing up.  Below is the card front when it's closed:


It is a 3-layer shadow box (as you can see from the next picture - covered with the outer card piece - see card front above).


Here's another print it yourself card - made as directed with a few changes:


The unicorn & flowers on the card front are all multi-layered with foam tape.


The middle part of the card front has a flap that opens.


Then both sides open to reveal the inside.

Friday, June 19, 2020

Wonderland ACK Part 3


Today I was back to working on the HOTP Artful Card Kit (ACK) called Wonderland.  I got three more cards made, bringing my total from this kit to 8 cards so far with several more to go.  

Card #1: This first card is my favorite from what I made today. I liked the way I put 3 die cuts together to form one piece - then matted the whole on black - forming a nice backdrop for my focal.  The focal is the Rejoice Angel Small Stamp from HOTP.  I stamped it on card stock & heat embossed with clear powder.  Then I colored it using a waterbrush with markers (flesh, robe, and book) & Opal Polish from Cosmic Shimmer (gold on wings, hair, and highlights on the book & clothes).  In real life it's got a nice golden sparkle when seen in the light.  The angel & greeting are added with foam tape.  The papers are all from the ACK - including the chevron border paper (except for the black which is from my stash).  The greeting is actually two cut outs from the kit that are layered & added with foam tape.  I added a few Dazzles stickers from a Scrapbooking kit to finish the card front.

Inside:

Inside I used a scrap of black, and a scrap of patterned paper from the kit to form a bit of a border.  Then I added a cut out sentiment - quick & easy!

Card #2:

This next card makes use of a beautiful 3D embossing folder that I got with my Gemini machine.  It is called Ornate Lace, and you can see the beautiful pattern it makes.  I used paper from the kit & then colored the raised areas with Pine Needles Distress Ink.  I mounted this on black & then on a craft colored card.  I cut a strip of craft card stock, ran it through a Cuttlebug Embossing folder (Swiss Dots) and inked with the Pine Needles ink and then with black ink.  This forms a narrow border which anchors my focal & sentiment (both from the ACK).  I finished by adding several embellishments - snowflakes from the kit & gold Fleur De Lis scraps that had been die cut "innies" from the borders I die cut for a previous card (Spellbinder's Edgeability dies).

Inside:

Inside I matted another piece of craft card stock for a place to write my message, added a border strip of leftover papers, and added another die cut from the kit (and another Fleur De Lis scrap to "attach" it to the border).

Card #3:

The third card has a mix of papers, die cuts, and cut outs from the kit.  To this I've added black paper from my stash & some silver 3D Dazzles from HOTP.  The black Christmas tree is free-form cut & then has Dazzles added for decorations.

Inside:

Inside is more of the same - along with a cut out sentiment from the kit.

Tuesday, June 16, 2020

Father's Day 2020


Today I have a couple of cards I made for Father's Day.   

Card #1: This first card was adapted from a free download from CraftsUPrint. It was designed as a paper tole or decopage style card with multiple layers separated by foam tape (see next picture).  Originally it had a flowered pattern on the left-hand side border which felt too feminine for what I wanted, so I used a strip of of an old HOTP pattern from my stash.  Then, the boxes along the left had the slippers at the top - just seemed a bit strange to me, so I moved them to the bottom & added several layers of matting to the top one to give me a greeting large enough to cover the original slippers.  

Layers:

There are multiple layers of the dog & man.  There is also a layers of the boxes on the left side - all added with foam tape - and an additional layer of slippers.

Inside:

I saved one layer of the man & dog to go on the inside of my card.  I cut some papers from my stash to give me a background & border that matched the card front, but realized I needed something to anchor the focal.  I happened to have a Christmas Artful Card Kit called Wonderland sitting out on my desks and the colors were right.  SO, I took one of the labels from that kit, cut it in half, drew a black margin where I cut it (using a Sharpie) and had a great little rug for my chair to sit on!!!  The upper block is actually a computer created message to my Dad, (but it was a private message, so I removed the words for posting).

Card #2:

This card started with materials from Hunkydory's Perfect Planet card kit - the set called "On Safari".  My card base is a craft color - which I embossed with a 3D embossing folder from Spellbinders called Cane Weave.  I then inked the raised areas (with Vintage Photo Distress Ink) so the pattern stood out well.  The focal is multiple layers with foam tape (see next picture).  I have two sentiments - the one on the left is from a Hunkydory Little Book of Essential Greetings, and the one on the right is cut, embossed, and stenciled with a Spellbinder's die (Romantic Rectangles Two).  I added gold ink around the edges & hand wrote the greeting since I didn't have a stamp the right size.  Because I wanted to make an easel card, I scored down the center of the card width-wise before gluing just the bottom half of the focal to the card front.

Layers:

As Easel:

The inside of the card has a cream colored paper that is matted a couple of times.  This will be for me to write my message.  But the easel stop & border are more elements from the kit - raised on foam tape so they'll hold the easel properly.

Wednesday, June 10, 2020

Wonderland ACK Part 2


Today I have three more cards from the HOTP Wonderland Artful Card Kit (ACK).  

Card #1: This first one features a 3-D embossing folder I got with my Gemini die cut & embossing machine.  It is BEAUTIFUL!!!  I used a gold linen card stock and I love how that turned out.  On top of this I layered a blue strip for a border, a blue die cut (Spellbinder's 2010 Heirloom Ornaments), the ornament frame from the ACK, and a gold die cut (cut from the same gold linen card stock using a Paper Artist die from the set called 3 Lacy Christmas Ornaments).

Inside:

Inside we have a spinner element.  It is created the same way as another card I made here.  The spinner part started as the inside piece of the ornament frame that was on the card front (from the ACK).  I colored the back of it gold (using Opal Polish) and then added a couple other snowflake die cuts from the ACK.  It ended up looking quite similar.  Then, I added gold Jewel Dazzles to each side for some extra sparkle.  The border was cut from the gold linen card stock using Spellbinder's Classic Bracket Edgeabilities dies.  The "Tis the Season" was also cut from the same gold card stock using a Creative Expressions die called Tis the Season Edger.  

Inside Alternate View:

Here you can see the other side where I have a stamped message (HOTP Christmas Cheer stamp set) stamped on patterned paper from the ACK & framed with a gold die cut frame (Spellbinders 5X7 Heirloom Legacy die set).

Card #2:

The 2nd card started with a craft colored card base - front embossed with Cane Weave 3-D folder by Spellbinders.  Layered elements from the ACK form the sentiment which is attached to a border strip of dark teal.  The light colored paper at the bottom is a scrap from the ACK.  The same dark blue teal was die cut to create the nativity scene (Divinity Designs Holy Night die set).

Inside:

Inside are more pieces from the ACK, several angel die cuts (from the Holy Night set), a border strip of the dark teal, and an inked panel behind the greeting (from ACK).  The "A gift of Love" was stamped & heat embossed using a stamp from JustRite's Holiday Cheer Ornaments.
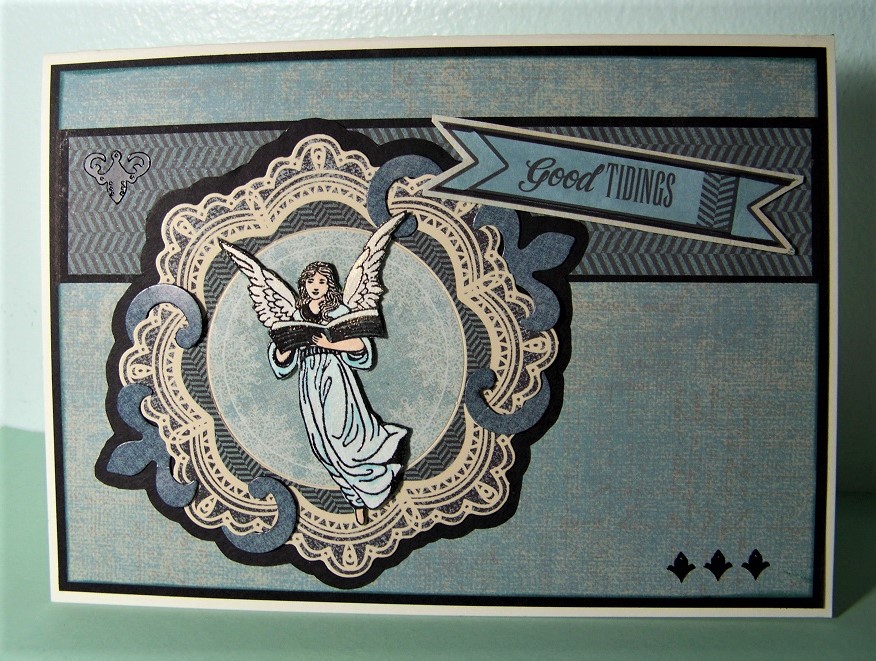
Card #3:
The third card is a cutaway.  Papers are from the ACK as are the layered focal elements (though the sentiment was stamped using a stamp from HOTP's Christmas Labels and Trims.   The little snowflakes that are scattered around are cut using Paper Artist dies (from 2 sets - Three Snowflakes and Flying Reindeer).

Here you can see the card partially opened:


Inside:
Inside is a border (patterned paper from the ACK) and more snowflakes.

So, these three cards bring my Wonderland ACK total to 5 cards so far.

Monday, June 8, 2020

Wonderland Part 1


Today I have a couple of cards made from an Artful Card Kit called Wonderland (HOTP).  I've discovered that it seems to work best for me to pick an ACK and do what I can to completely use it up making cards.  I haven't gotten very far into this one, but I DO have two cards.  I tend to start by figuring out how to use the pieces I think will be the most challenging.  

Card #1: This first card starts with a patterned paper corner that I felt would be challenging.  In addition to inking the edges, I cut a slit in it so I could slide the lamp post die cut behind one of the printed stamps - to give the feel that things were piling up around the base of the the lamp pole.  The "stamp" on the far right and the white embellishment in the upper left were additional die cuts from the set.  The sentiment was a cut out - also from the set.  After assembling the card, I added some Puffy Stuff paint (Cosmic Shimmer) & heated it to create dimensional snow accents.

Inside:

Inside I added a piece of patterned paper (after inking the edges) and another cut out from the kit.

Card #2:

For this card, I got the idea to make the card front look a bit like a stamped, addressed envelope.  The background is another piece of the patterned paper used above.  The focal is a two-piece die cut - center glued directly to the paper while the frame is raised on foam tape.  Before gluing in place, however, I added a piece of patterned paper (from kit) that I had cut with a Crafter's Companion die called Festive Scene.  The houses & trees look like they belong there, don't they?  The "stamp" is a die cut from the kit - as is the label in the upper left corner.  I used a stamp from a Just Rite stamp set called Christmas Vintage Labels One to heat emboss the greeting in black.

Inside:

For the inside, I added a die cut border using the same Festive Scene die.  The houses here & on the card front were also coated with Spectrum Noir Sparkle paint to had a bit of glimmer that you can't see in this pictures. The border across the top is a die cut border piece from the kit.

Wednesday, June 3, 2020

HD Lilac Moments - Life's Journeys


Today I chose Hunkydory's Lilac Moments card kit - the set called "Life's Journeys - to use to make some cards.  I was able to make 5 cards from this set, and here they are!  

Card #1:  The first card is an easel card with a bicycle focal.  The background is AS (adorable scoreable card stock from the kit).  The focal is double matted - first on some paper doily lace pieces, then on a piece of black card stock that was embossed (Spellbinder's 3-D Mediterranean Medallion) and colored with Opal Polish (Cosmic Shimmer - Lavender Blue).  The sentiments are from the kit.  The one on the inside is mounted with foam tape so it can help hold the "easel" in place.  That inside sentiment was matted on a piece of card stock that was cut with a die from the Resplendent Rectangles set (Spellbinders) and then colored with Lavender Blue Opal Polish.

Card #2:

Next up is an interlocking gate fold card.  It's hard to tell in the picture, but the left panel was embossed with Cuttlebug's Swiss Dots embossing folder.  (I would have embossed both sides, but my 8 1/2" wide Grand Caliber machine gave up the ghost and my back up machine will only allow things that are 6" wide - so my 7" card won't fit.)  Anyway, All the other elements are from the kit.

Card #3:

This third card turned out quite differently than initially envisioned because I tried - and failed - to die cut the purple adhesive-backed brushed purple paper.  While the die cut through the backing paper, it was not able to cut through the mylar surface so I had to go to "Plan B" which put the purple behind a white trellis (cut using Spellbinder's Criss Cross) - both pieces cut to fit behind the frame from the kit.  Before adding the focal & border (strip of purple mylar) I embossed the card front using Cuttlebug's Swiss Dots embossing folder.  The focal & sentiment were from the kit, but I added several adhesive-backed crystals to the card to complete it.

Card #4:

This 4th card is a very different shape - at least for the card front.  (The inside is standard rectangular shape).  I had an irregular piece of AS left over after cutting off the corners for card #5, but I decided I liked the shape as it was for a card! The card front is embossed with Cuttlebug's Rosa embossing folder. As you can see, I glued the focal to the front flap - and added a sentiment (once again being careful to avoid getting glue anywhere besides where it would attach to the focal).  I cut a strip from the border of the AS and used it for a border on the inside of the card.  You can just see the tip of this extending beyond the cut-away card front.

Card #5:

This last card is also a gate fold - but this time it's a diagonal gate fold card.  The peacock is a Heartfelt Creations design that a friend sent to me.  I colored it with Opal Polishes (Sunset Sky, and Pink Thistle).  The doily is from my stash - attached only to the upper right corner.  The sentiment was made using a Spellbinder's die from the Resplendent Rectangles set and a JustRite stamp (With Sympathy).

Here you can see it partially open (the dotted paper on the inside is an old HOTP paper):

Tuesday, June 2, 2020

CMM Anniversary Card


This was an anniversary card for a special couple (my parents) so I took a great deal of care with it - making it dimensional & creating a matching box for it.  Much of what was used were two Card Making Magic Sets - the Octagon Box Kit and Ultimate Number and Overlay. The only things not created using those two sets were the flowers.  Those were made using Heartfelt Creations Blazing Poppies Stamps & Dies & Mold.  The bulk of the card and box were made using white card stock covered with Opal Polish (Lavender Blue).  The numbers were cut from glitzy paper, and silver tag board was used for some.decorative elements.

Inside:

The inside of the card has a sentiment that was stamped using JustRite's For All You Do Vintage Labels Three stamp set and cut using the matching Vintage Labels Three die.