This is the sixth in my "one sheet wonder"
set. In general for this set of cards, in addition to that one sheet of
paper (from HOTP "Artful Watercolor"), I used:
- Card stock cut & folded to make a 4 1/4" x 5 1/2" card base.
- Printouts of an art & tag freebie download that was designed to go with the paper (and occasionally black or white card stock to stabilize them so I could pop them up with foam tape).
- Black paper - mostly for matting.
- Black Sharpie - for faux matting
- Misc embellishments from my stash.
If
you look at the template on this page, you'll see that the pieces labeled #6
are the ones that were used for this card.
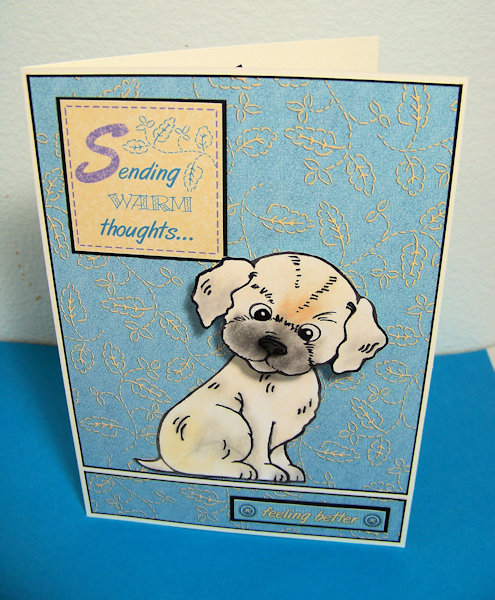
CARD FRONT:
INSIDE:CARD FRONT:
- Background: I started with the large single panel & matted it on black paper. Then I added a black 1/4" ribbon about 1/3 of the way up from the bottom before gluing this to the card.
- Focal & Finishing: The focal was a label from the printed freebie sheet. I stamped (stamp from "Floral Greetings" set from HOTP) and embossed the greeting with fine black embossing powder. This was attached to white card stock & then fussy cut around the edge leaving a narrow white border all the way around. I added it to the card with foam tape & tucked a few pieces cut from a gold doily underneath. I added a bow made from 1/8" black satin ribbon & that completed the front of the card.

- I faux matted the small rectangle using a black Sharpie around the edge. Then I added a couple greeting pieces cut from the artwork freebie printout.