One of the things I've found really useful is my list of fun folds I can make from standard card blanks (which for A2 cards means starting with cardstock that is 5 1/2" x 8 1/2"). Since I'm finding I want to focus on A2 cards for awhile, this opened up more possibilities - what can I make when I start with an 11" x 4 1/4" strip of cardstock? I won't show the basic "fold it in half" card, but this page lists other possibilities. Check back because I don't have examples yet for all of them, and I'll periodically be adding additional structures.
Cutaways
Here we have a variety of ways that parts of the front panel can be cut away to let parts of the inside of the card show to the outside.
- Barn Door:
%20-%2020250425.JPG)
You can see the above card here for details, but basic instructions are as follows. Score and fold at 5 1/2" as normal. With card in horizontal position, cut off top 1 1/2" of card front.
.JPG)
.JPG)
For the finished card you see above, I simply added a circular sentiment to the upper portion of the "bard door". But, I could have put the circular element on the inside of the card and used a punch to cut out 1/2 circle from top edge of remaining card front so it showed through.
- Cut, Turn, Paste:
.JPG)
For this one, I simply scored and folded it at 5 1/2 as usual. Then, with the card in a vertical position, I cut off 2 3/4" of the lower part of the card front.
.JPG)
I took this cut off piece and turned it sideways before gluing the top of it at the fold - so it overlaps the lower part of the card where the inside shows through. In this particular case I added side strips as well, but that's not necessary. Obviously, if you want to cover that flap with paper, you would do that before gluing the additional piece(s) to it.
Here's what it looks like when made horizontally rather than vertically:
.JPG)
- Cutaway Gate Fold:

I started this card by cutting off a piece that is 2 3/4" x 4 1/4" just like the last card, but then it is scored and folded differently. Looking at the sketch below, cut on solid line (2 3/4" x 4 1/4" piece). Score on dotted lines (1 3/8" from each edge).

- Gap card:
%20-%2020250425.JPG)
Though this looks similar to the last one, it isn't. The far right side is not attached to the inside of the card. In it's simplest terms, a gap card is created by cutting away part of the card front BUT adding something to "bridge the gap" and thus hold the card together.. You can use a variety of shapes to "bridge the gap" - including die cut words or other shapes. For this card, I simply turned the center piece that was cut off and use it to bridge the gap.
.JPG)
.JPG)
- Gap with Acetate:
Similar to the basic gap card, this one uses acetate to bridge the gap with or without various other die cuts across the gap.
Slice It
Instead of cutting part of the card away, these cards have slices in various places to create different card structures.JPG)
- Split Face Pocket Gift Card Holder:
.JPG)
Here for the base card we have simply folded the cardstock in half to create an A2 sized card, and then cut a slice through the card front at 1 1/2" from the edge.
.JPG)
Decorate as you desire and glue the short/narrow piece to the inside of the card on just 3 sides creating a pocket that holds the gift card:
.JPG)
Multiple Folds
Now we come to cards with two or more folds.
- Gate Fold:
%20-%2020250425.JPG)
This card is simply scored at 2 3/4" from each end, with the ends then folded to meet in the middle.
.JPG)
- Fold Back:
.JPG)
For this card you again fold it in the middle to create an A2 sized card - but then score the front of the card 1 1/2" from the right edge and fold it back as you see in the picture below:
.JPG)
Create a square panel (usually do a 4 x 4, but this time did a 3 3/4 x 3 3/4) and glue it to just the folded back piece. Add a panel to the right side of the inside so it shows through to the front when closed. Here's what it looks like when partially open:
.JPG)
- Book:
.JPG)
This card is pretty simple - score at 5 1/2" and at 6 1/2" - first a mountain fold, then a valley fold. Glue card shut between the two folds.
.JPG)
- Book with Fold Back:
Similar to the last one, this card adds an additional score line at 8 3/4" that is folded back:
.JPG)
- Matchbook:
%20-%2020250426%20(1).JPG)
This pretty otter card again started with a 4 1/4" x 11" strip of white card stock. This time I scored it at 4 3/4", 9 1/2" and 10". I folded the first and last score line as valley folds and creased well, then I gently folded back along the other score line making a bit of a mountain fold, but not with a strong crease - just enough to make the card easier to use. The I stapled near the bottom of the 1" fold to hold it in place, making sure the "clean" line of the staple was at the back since the front side would be covered.
.JPG)
%20-%2020250426%20(2).JPG)
- Pop-Through Circle with Latch:
.JPG)
This isn't the best example of this card, but it IS an example. It looks trickier than it really is. This time you score at 4 1/4" and 8 3/4". Before folding use a punch or cutting die to cut out 2" circle center over 8 3/4" score line toward the right side.
.JPG)
Then valley fold along both score lines. After adding your decorative papers to both the card and the circle you removed, you will close the card as shown in the finished picture and glue the lower part of the circle to the card through the indentation that was cut out. After the glue has dried, you can open this card by threading the added circle back through the punched/die cut circular hole. In this case, I also added a bee on foam tape to the lower part of the card so it could serve as a latch to help hold the flap closed.
- Fancy Accordion 1:
.JPG)
.JPG)
This time I scored the card at 2 3/4", 5", 6", 8" and 9".

First two are valley folds, then mountain, valley, mountain. Crease all well
.JPG)
Create a focal with base of 3 7/8" x 4 1/8". This, when glued to the card front, will extend another 1 1/4" to the left, creating a standard A2 sized card. On the right side, after all is decorated, consider adding a decoration on dimensionals that can serve as a "latch" to hold the card closed.
- Fancy Accordion 2:
.JPG)
.JPG)
This time I made multiple score/fold lines at 2 3/4", 4 1/4", 7 1/4", and 8 1/2" - then folded as mountain, valley, mountain, valley:
.JPG)
I made a 4 x 4 focal panel and glue it just to the front folded piece - extending it past the fold. Then decorate the other panels:
.JPG)
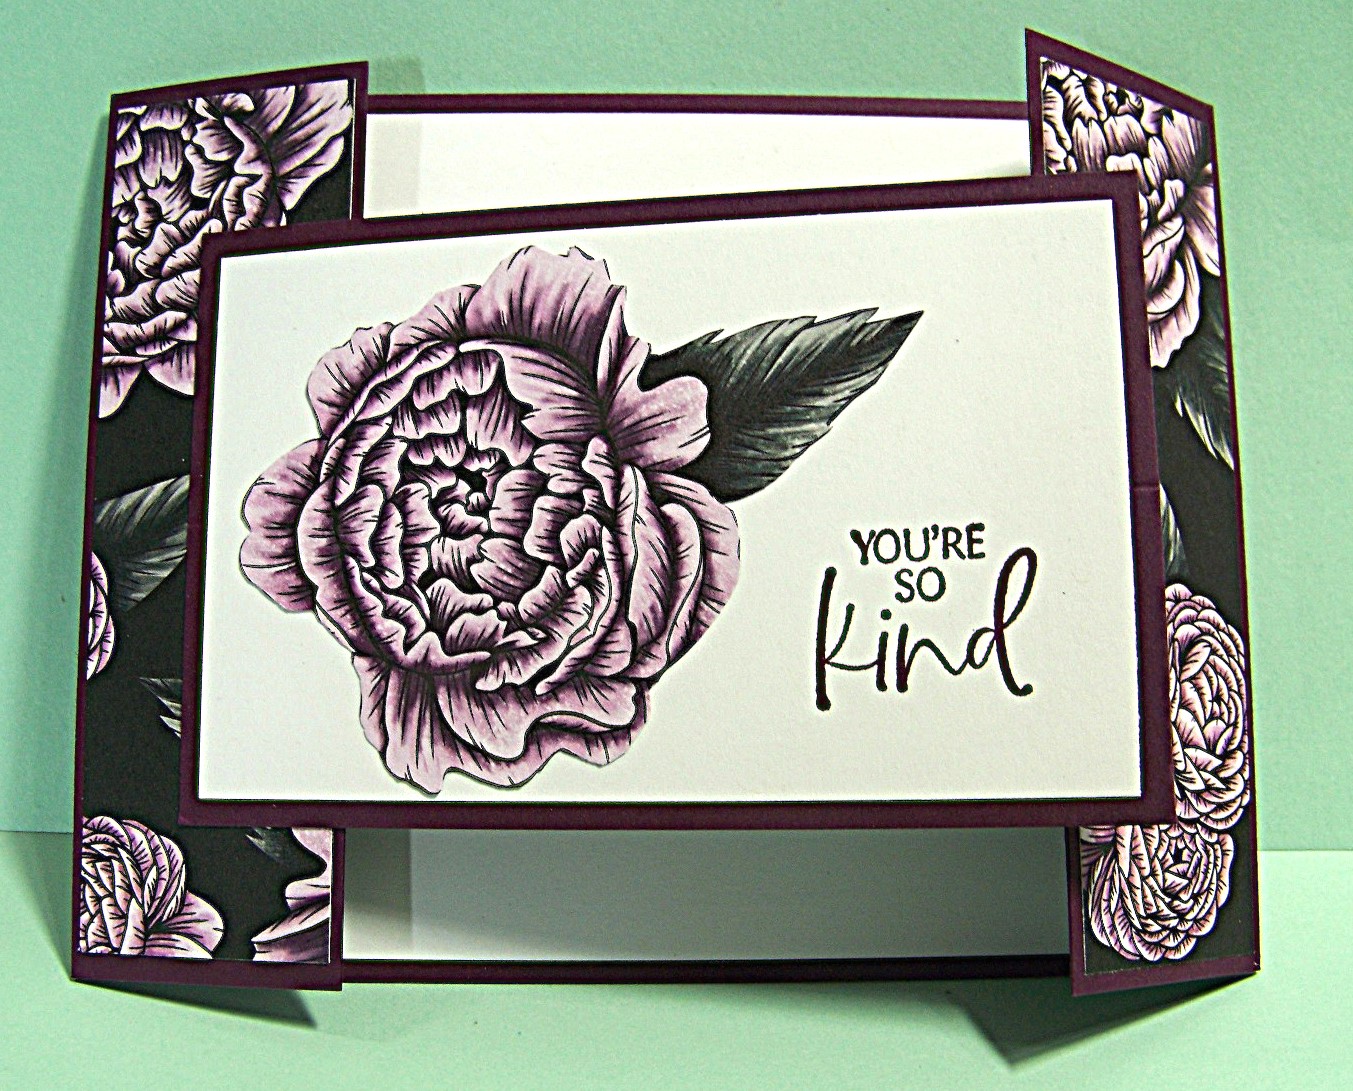
- Bay Window:
.JPG)
This one was made to slightly different measurements, but you can easily create an A2 sized card by scoring the 4 1/4" x 11" card at 5 1/2", 6", 7 1/2", 9", 10 1/2". First is a mountain fold, then valley, then 2 more mountain folds and another valley so you card base looks like this:
.JPG)
Slice It WITH Multiple Folds
These cards have slices in various places along with multiple folds to create the structure.
- Inverted Center Step card:
.JPG)
This one is made basically the same way as the other Inverted Center Step cards - simply a vertical version.
No comments:
Post a Comment