Please let me hear from you!

This blog is for sharing a love of paper crafting. I love paper crafting -
and Stampin' Up! products in particular -
so much so, that I became an independent Stampin' Up!®™ demonstrator earlier this year!
Full disclosure: I get a small commission on purchases made using Stampin' Up! links from this website - but this in no way affects your price. It just serves to help support my blogs. Thank you in advance for that support!

As of January 21, 2026, most of my Stampin' Up! makes are moving to
https://cheringloveofpaper.blogspot.com/.
Most of my makes will be using Stampin' Up! products and be on that blog,
but any makes from other materials will still be posted here.
Enjoy browsing my blogs, and I'd love to hear from you.
It is what helps make the time I put into these blogs feel worthwhile, and always brightens my day.

NOTE: All Stampin' Up! Images © 1990–2026 Stampin’ Up!®

Wednesday, April 10, 2019

Napkin Xmas #4


This set of napkin cards was made from napkin "innies" from my stash (see this post).  

This first one (above) also has red glimmer paper, white die cut (Spellbinder's Fluer de Lis Squares - cut in half & separated),a sticker with silver smooch filling in the stars, and Hunkydory leftover (not sure what kit!) & Hunkydory Essential book of Christmas Sentiments 2016

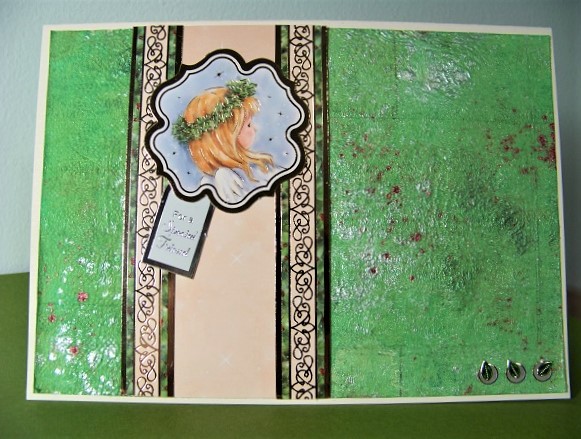
Next up we have more Hunkydory - border & focal from Cuddly Christmas and sentiment from Essential book.  Dazzles (HOTP) add a little more interest to the bottom right corner (layered Jewel Dazzles & small green leaves).


The third card in this set has bits from the Hunkydory "Wildlife of Britain".  There's a bookmark and greeting from that set.  Also, the border is from scraps from that set.  This card also uses washi tape to frame the card.


Tuesday, April 9, 2019

Xmas Napkin #3


One of the napkins in my stash was really only 1/2 of one.  I used it to create this card.  The border was created from scraps of this card & the "innards" scraps of another (see this post) - and some peel off stickers. 


Monday, April 8, 2019

Napkin Xmas #2


This is the 2nd of my xmas napkin stash challenge to myself. These 3 cards are created from the 2nd napkin in my stash (along with a bit of green glimmer paper & some stickers - including Dazzles.) 


Sunday, April 7, 2019

Napkin Xmas #1


I'm on a mission to use up a bunch of the stuff I've had sitting in my stash.  Right now, I'm going through the napkins I had prepared for card making (see this post).  I had quite a few already prepared, but was having trouble getting inspired.  I decided to do something similar to a technique I had seen in a u-tube video that had been mentioned on paperwishers message board.  In the video, Kylie Bertucci talks about cutting up a piece of scrapbook paper to help you get started with making cards from it.  Since I don't tend to make very many A2 cards, I didn't cut things the size she mentioned, but chopping up those napkins really did help - showed me that I didn't need to keep the WHOLE picture when I was dealing with large-sized images in the napkins.  If I had thought about it, I'd have also taken pictures BEFORE I chopped them up - but I didn't.  Anyway, here are the 4 cards I made from this poinsettia/holly napkin.

FIRST (6.5" x 5") - at the top of the page.  For this one, I trimmed the wide borders on the left/bottom & added the trimmings to the right/top.  A few gold stickers finished it - sentiment, border strips & "Jewel Dazzles" (HOTP).

SECOND (7"x 5") - all borders except the one on the left were trimmed off - one of the leftovers was added to the right side, trimming the leaves so they overlapped the border.


THIRD (5" x 7") - This one was created as a portrait-style card.  A piece of red paper was heat embossed with a gold powder (from "Christmas Labels and Trims" - HOTP).  This is outlined with thin gold border stickers.


FOURTH (6.5" x 5") - The last card was made in a similar way to the 2nd one - with the addition of a sticker greeting.