
So far I've made 12 cards from this kit, so today I'm starting with
Card #13 (above): Here I've created a background from a piece of the patterned paper - beautiful on its own. I added a black piece of ribbon near the bottom for a border & inked the edges before adding it to the card front. The sentiment was cut from the cut out sheet and then double matted in the patterned paper & black. A few black "crystals" complete the card front.
Inside:

Inside, as strip of the patterned paper creates a border that the ornament die cut "hangs" from. The sentiment is from a HOTP set called Christmas Cheer.
Card #14:
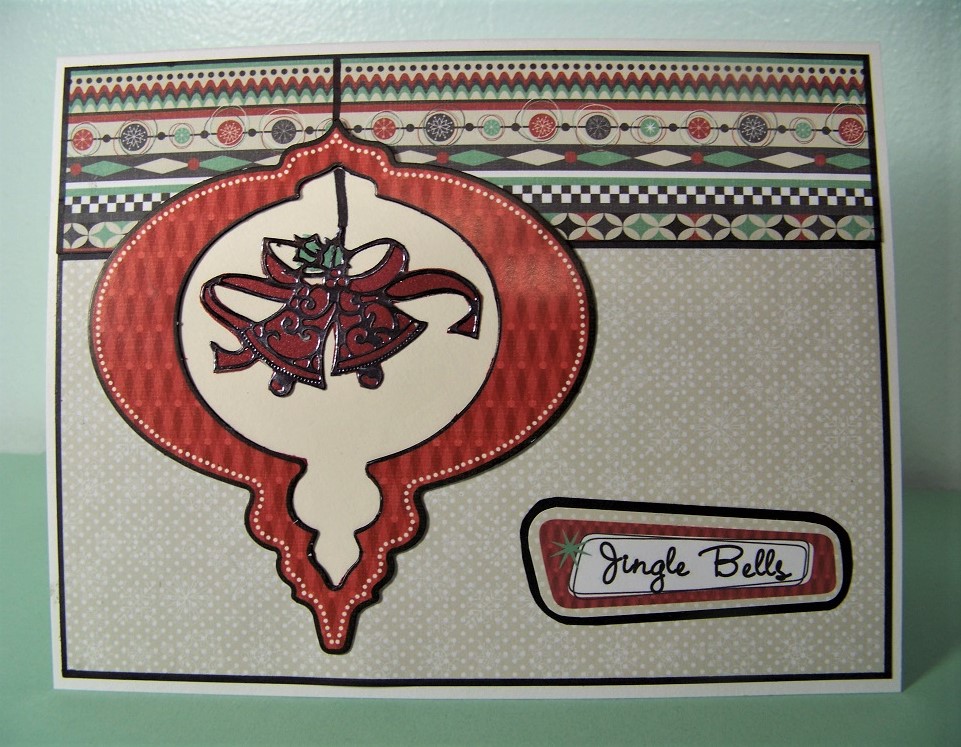
This background was created from two pieces. The dotted part is one piece, and the striped part is another. Both pieces are from patterned paper in the kit. The ornament is a die cut from the kit. and the sentiment is a cut out from the kit - double matted once again. The bells inside the ornament are dazzles that have been backed with paper & glued to the plain cream colored paper from my stash that sits behind the ornament die cut. I used a sharpie to draw the "hanger".
Inside:

Inside is more of the striped patterned paper and an ornament die cut from the kit. Once again a Sharpie drew the hanger part. The sentiment is another from Christmas Cheer (HOTP).
Card #15:

More paper from the kit forms the background, with black die cut border added (Spellbinders Ironworks Accents). Sentiment is stamped (using Snowbird small stamp from HOTP) on a fussy cut cut out piece from the kit. The mittens were stamped (HOTP Mittens small stamp) on a piece of white card stock & the cuffs were also stamped on a scrap of the green paper, fussy cut, and glued in place. The hearts were colored in with a marker.
Inside:

A strip of paper from the kit and a layered piece made with die cuts, paper pieces, and a cut out - all layered together (and all from this kit) - form the inside of this card. The sentiment is stamped using another HOTP small stamp (Winter Wonderland).
Card #16:

This is an A2 card, with a piece of the green paper from the kit - cut with a Spellbinder's die (Spellbinders Edgeabilities Bracket Border) and leaving part of the white card base showing. A strip of tan paper & a strip of the striped paper from the kit form a border near the top. The tag is a die cut from the kit - stamped with a stamp set I got in a cardmaking magazine - can't remember for sure which one. The set is called Happy Holidays - 21 Vintage Christmas Stamps. A couple of die cut holly sprigs from the kit finish the outside.
Inside:

Inside is more of the same - strips of the striped paper for borders, and another die cut holly piece. I also used a stamp from HOTP's Christmas Cheer stamp set.
Card #17:

I used up a bunch of little pieces of the striped paper by cutting it into squares and matting them with black to form sort of a patchwork background. The tree is stamped (HOTP small stamp called Winter Wonderland)on green paper (from the kit) and heat embossed with white.
Inside:

Borders and a focal element were created using black paper from my stash, scraps of paper from the kit, and misc small die cuts (also from the kit).
Card #18:

This is another A2 card. The background is a leftover piece of border paper - with a strip of black at the bottom forming another border. A couple of die cuts were layered to form the focal - which was enhanced with some black Jewel Dazzles. A cutout sentiment was added at the bottom, and a few more jewel dazzles were added to the top.
Inside:

I thought the red paper scraps from the kit sort of mimicked the border on the card front. I added black & another die cut from the kit. This time the sentiment was stamped with a JustRite stamp from their set called Deck the Halls. More black Jewel Dazzles finish off the inside.
Card #19:

For this final card, I mostly had a piece of this very busy background paper. Going through my stash, I found a focal & greeting from a Debbi Moore download that I thought would go very well. A bit of the striped paper & strips of black and red from my stash create the borders.
Inside:

Inside I used another piece from the Debbi Moore download, along with strips of patterned paper and plain black for borders. It's hard to see, but the edges of the borders & the card front are inked for a more finished appearance.
That makes a grand total of 19 cards from this kit! No wonder I was getting tired of it! :)
No comments:
Post a Comment