Please let me hear from you!

This blog is for sharing a love of paper crafting. I love paper crafting -
and Stampin' Up! products in particular -
so much so, that I became an independent Stampin' Up!®™ demonstrator earlier this year!
Full disclosure: I get a small commission on purchases made using Stampin' Up! links from this website - but this in no way affects your price. It just serves to help support my blogs. Thank you in advance for that support!

As of January 21, 2026, most of my Stampin' Up! makes are moving to
https://cheringloveofpaper.blogspot.com/.
Most of my makes will be using Stampin' Up! products and be on that blog,
but any makes from other materials will still be posted here.
Enjoy browsing my blogs, and I'd love to hear from you.
It is what helps make the time I put into these blogs feel worthwhile, and always brightens my day.

NOTE: All Stampin' Up! Images © 1990–2026 Stampin’ Up!®

Thursday, October 19, 2023

HD Stepping Into Christmas - Yuletide Village

Today's cards come from a Hunkydory Deco Large kit called Stepping Into Christmas - the set called Yuletide Village.  To that, I added bits from my stash.  Here is what this set looked like before I started working with it:

Technically, it is designed to make ONE heavily layered focal, but I find that usually I can take the larger layering pieces - back them with something, and turn them into focals.  Then I take the smaller pieces and divide them among the backgrounds OR use them on the insides.  Here I've done a bit of both.  Here's a quick look at the 4 cards I made from this set:

Let's take a closer look at each:

Card #1:

It's hard to tell from the picture, but this card has quite a bit of dimension.  The scene itself, one of the larger of the layers is raised on 1/4-inch foam tape (thicker than I used on the other cards), then some of the people are added with thinner tape.  As you can see, I framed the scene with a die cut piece of foiled poster board, and the dark green of the background shows through behind the scene at the top.  The border was part of the Adoreable Scoreable (AS) card stock that came with the set.  I finished the card with a sentiment from the set - added with the thicker foam tape.

Card #2:

Next up, the background is pieced from the AS & a border piece that came with the set.  Then I added the sentiment, focal (this is their base layer), and smaller pieces on top of the focal - again with foam tape.

Card #3:

After setting aside what I needed for the 4th card, I had no AS left for this one - another of the larger layering pieces.  I went looking through stash and found an old HOTP printed 8 1/2 x 11 sheet that I thought would work well for the "sky".  Then, I narrowly matted the whole in dark brown, and again in rust - wrapping the ribbon around them all before adding the whole to the front of the card.  Again I added some extra pieces with foam tape.  I also added a sentiment (from the set) and bow to complete the look.

Card #4:

The final card background is again pieced from the AS.  As you can see, I then added the focal scene (the smallest of the layering pieces I chose for focals) at the bottom.  I actually ended up cutting off the bicyclist and putting him on the inside of this card.  The sentiment was actually fussy cut from the packaging that the set came in. That, plus a border piece from the set, completed the card front.

Inside:

I didn't bother to show the insides of the other three cards, because they simply had a stamped message in them.  Here, in addition to the stamped message (using one of my Mom's stamps), I created borders with the remaining pieces of AS.  Then instead of adding my extra people to the card front with foam tape, I added them here on the inside of the card.

Wednesday, October 18, 2023

Birthday - Teddy Love

Today I have a quick birthday card for a teddy bear lover.  It used only 3 materials (besides adhesive): Hunkydory Teddy Love decoupage pad, a pink A2 card from my stash, sticky-backed fun foam from the Dollar store.  

To create the card, I simply backed the decoupage layer sheet with the fun foam, then cut out the pieces and glued them in place - easy peasy.  I DID use a trick I've learned though.  If the cut outs showed too much white around them, I edged them with ink rather than trying to cut closer - it works much better for me.

Inside:

I had a greeting left over, so added it to the inside of the card.  I still have plenty of room for a personal message.

Wednesday, October 11, 2023

First Day in Holland


Page #1 (above): This page was quite a challenge.  There was SO much that I wanted to put on it!  2 maps, 7 pictures, as well as quite a bit of journaling & a large title.  With a bit of prior planning to figure out what size to print the pictures, I think it turned out REALLY well.  I used a filmstrip stencil to create the "filmstrip" at the bottom of the page.  The title was the top part of a scrapbook paper that I had.  As you can see, I used similar dark blue to mat the journaling, and then just added the rest of the pictures.

Page #2:

Once again, I had lots of pictures I wanted to use - as well title, journlaling, and some pretty scrapbook paper that seemed particularly appropriate.  As you can see, I matted the focal picture on white, then yellow, then white before adding it to the square of pretty scrapbook paper I had adhered to the upper left-hand corner of the page.  After adding the journaling & title, I added the rest of the photos around the two edges as you can see.

Pages 3 & 4:

Next up is a dual page layout - an introduction to the place that will take the next several pages in my scrapbook.  Below is a closer look at each of these pages:

Page #3:

This lovely tulip pattern is actually the back of piece of paper that was left when I cut off the title on the first page I posted about here.  Behind the picture of the couple, is a vellum box envelope that holds the visitor's brochure.  I added a velcro-closure clasp because the brochure easily fell out otherwise!  As you can see, I printed the pictures, title, and journaling & matted all with green card stock.  Before gluing everything together, though, I used a rectangular cutting die to remove the tulip pattern from behind the large picture, saving it for the next page.

Page 4:

The title is the 2nd half of the one on the page we just looked at.  I wanted to bring more of that patterned paper to this page, but all I had was the piece I had cut from behind the large photo.  I cut it into strips, glued them to green mats, then added the photos between before gluing to the page.  I scanned in a portion of the map and printed it to add to the bottom of the page.  Then printed a 2nd copy and used a regular paper punch to remove the numbered dots to make my "key" around the map.

Page 5:

These pages were pretty quick.  After determining my layout, I printed the pictures, journaling, and titles, found some decorative paper that I thought would be a good color with them, and sliced it to create borders top and bottom.  I had a bit of an "oops" between the two pictures on the right, so added a strip of dark red paper to hide it.

Page #6:

This page uses the rest of that decorative paper.  It is actually two 6" wide pages that form a gate fold for more pages inside when you open them up.

Pages 7 & 8: And here's the inside of that gatefold:

Close up of center page:

The little windmill embellishment is fussy cut from a digital book about paper piecing that I got a long time ago from HOTP.

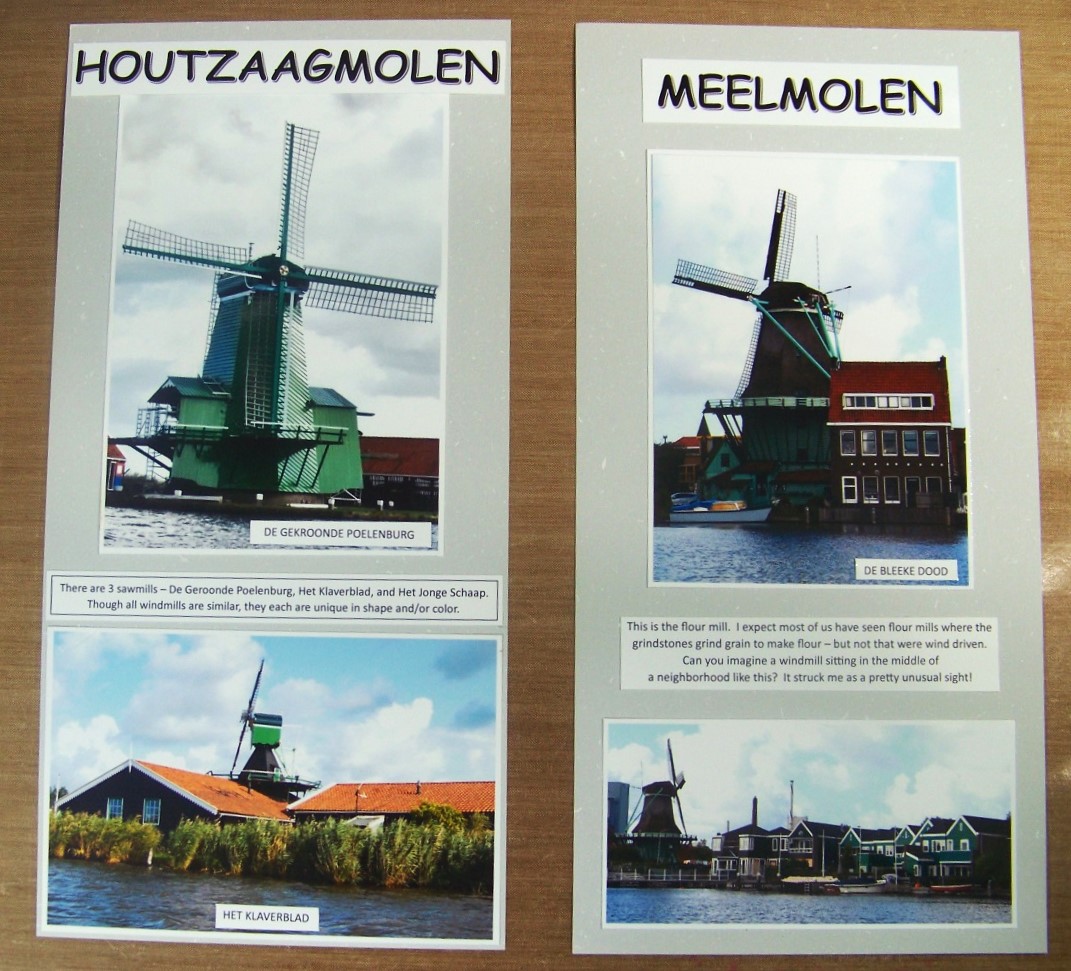
Close up of outer two pages (saw mills and flour mill):

Page 9:

The embellishment on this one was a die cut that I picked up in a scrapbook store.  The title & journaling were printed on white glossy photo paper and colored with Distress inks.

Page 10 (actually the front of a gate fold spread):

Pages 11 & 12 (inside of gate fold)  For some reason, I didn't get closeups of this layout. 

The left-side fold out includes a vellum pocket that holds a brochure about "The Cat" color pigment windmill.  The background paper is "hand made" paper I got at Costco years ago.  The journaling was again printed on white photo paper & then colored with Distress ink.

Friday, October 6, 2023

Christmas Slimlines & More

Today I have three more Christmas cards made with Hunkydory (HD) products at my Mom's place - 2 slimlines and a 5x7.

Card #1:

Here I combined a new die (Spellbinders Adoring Fleurette Card Builder) with a cut piece from an HD Little Book page.  The die is a really neat one with lots of options, but can be a little bit of a pain to work with.  After getting the main part of the card put together, I added a die cut sentiment (Moonstone Minis - Deck the Halls) with foam tape. I didn't really like the way the card turned out - needed white space between the lacy parts and the LB page.  And THEN a friend pointed out that I had actually glued the LB page piece in upside down!  So . . . I'm going to have to take some time to figure out what to do about that.  Hopefully, I can "kill 2 birds with one stone" and address both issues with my fix (I'll probably need to use a 2nd copy of that page and glue it on top).

Inside:

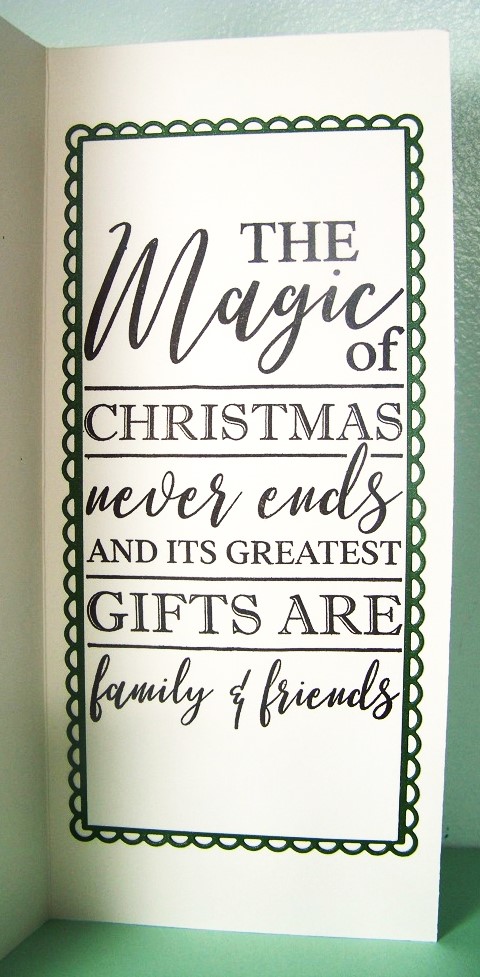
I love that these dies are so versatile that I could use them to get this decorative border for the inside of the card.  The stamped message is a Crafter's Companion Compendium (CCC) set of stamps (not sure of the name of the sheet of stamps because it is a set my mother bought).

Card #2:

This paper - from a Hunkydory magazine - was the PERFECT match for this HD Little Book page!  A narrow green border sets the focal off just right!

Inside:

More of the paper & the green mat create a border on the inside - along with another CCC stamp from my Mom's set.

Card #3:

Since I was at Mom's place, I had access to not only her stamps, but her embossing folders.  Here I use a LOVELY 3-D one that looks like quilting.  As you can see, I've added small Jewel Dazzles at each crossing point - gives such a lovely look!  I also added a glittery ribbon to form a bit of a lower border.  The focal was created using a small HD die cut against a circular gold circle frame & white background.  I matted this on the green - then a scrap of the patterned paper from the last card.  The sentiment was cut from a different HD Little Book set.

Inside:

More of the embossed/decorated green background forms borders top & bottom.  The stamp is again a CCC one of my Mom's.