Please let me hear from you!

This blog is for sharing a love of paper crafting. I love paper crafting -
and Stampin' Up! products in particular -
so much so, that I became an independent Stampin' Up!®™ demonstrator earlier this year!
Full disclosure: I get a small commission on purchases made using Stampin' Up! links from this website - but this in no way affects your price. It just serves to help support my blogs. Thank you in advance for that support!

As of January 21, 2026, most of my Stampin' Up! makes are moving to
https://cheringloveofpaper.blogspot.com/.
Most of my makes will be using Stampin' Up! products and be on that blog,
but any makes from other materials will still be posted here.
Enjoy browsing my blogs, and I'd love to hear from you.
It is what helps make the time I put into these blogs feel worthwhile, and always brightens my day.

NOTE: All Stampin' Up! Images © 1990–2026 Stampin’ Up!®

Monday, September 11, 2023

Ugly Papers Round 2

While the last "ugly paper" I worked with grew on me as I used it, the same was not true of this paper!

I'm not that enamored with the pattern, but the colors are REALLY difficult.  I'm not sure how you can have bright colors that are subdued at the same time, but that's what you have here.  And trying to match or coordinate colors with them was VERY challenging. I had already used part of the paper for another card (see this post), so got a total of 6 cards from this sheet - 5 in this post.  What a CHALLENGE!  Here are the remaining 5 cards:

Card #1:
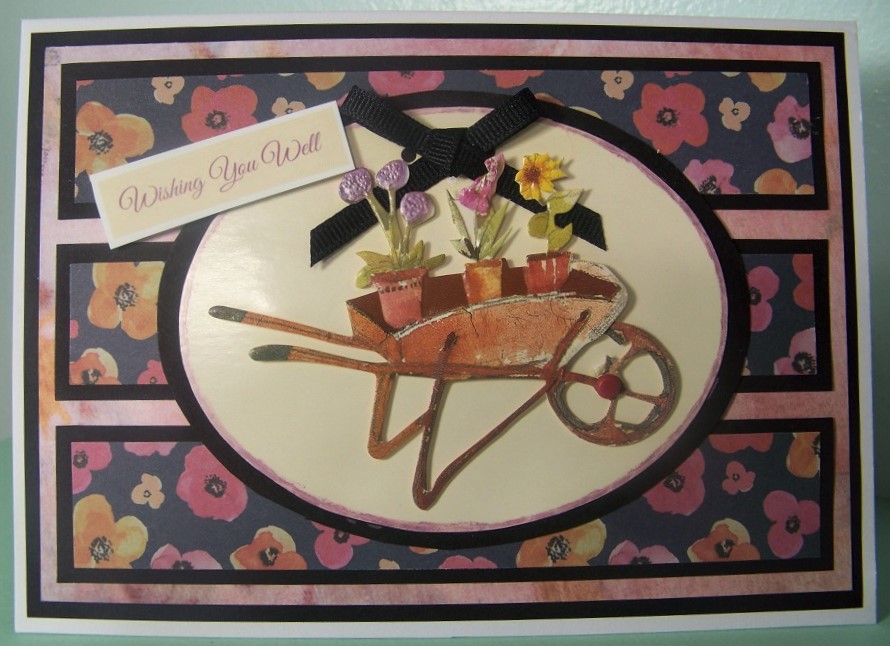
This card is one of the two that I actually like - and it actually uses 2 of my "ugly papers".  The other one used here is this one:

As you can probably see, I used some of it for the background on this card - after matting it in black.  Then I took 3 strips of the weird flowered paper, matted them with black, and glued in place across the width of the card as you can see.  Then I went looking for a focal.  Part of the reason these cards were so challenging was that I really couldn't stamp and color a focal because the colors were so weird I had nothing that would match them - or even coordinate well.  I found the focal on a recycled card front that had been sent to my grandmother.  The border around the oval was bright purple, and it had a bright fat yellow checked bow on it that mostly hid the flowers in the wheel barrow - but it seemed to go fairly well except for those two problems.  So, I did some surgery!  I first cut a black mat the same size as the focal - then cut off the purple & replaced it with the black mat.  Next, I removed the yellow bow and replaced it with the black - making sure the flowers came in front of it, so they could be seen.  Then I went looking in my stash for a sentiment & came up with this one that goes perfectly!  It's from a Debbi Moore freebie download.

Inside:

The stamped message inside is from Crafter's Companion Compendium (CCC) the page called With Sympathy.  The border is created from a strip of each paper - matted in black once again.

Card #2:

I struggled so much to find ways to create interest with this paper.  This time I paired it with a yellow patterned paper and yellow card stock.  I also added punched borders using cream colored card stock and the Martha Stewart border punch called Cherish.  As you can see, for this card, I fussy cut a bunch of the flowers from the paper, added a fussy cut butterfly (freebie download from somewhere that was in my stash), and a stamped sentiment.

Inside:

Inside I added strips of several papers to form a border - and stamped a CCC sentiment from the page called Thank You.

Card #3:

This card is made in a similar way as the last one - with a pink patterned paper and pink card stock for the borders (same punch as last time).  I found another sentiment piece in my stash & added a few more fussy cut flowers.  Then I stamped "Happy Birthday!" using a stamp from a freebie birthday set I got from Our Daily Bread Designs (now called Divinity Designs). I added a small butterfly sticker towards the bottom right corner - to cover up a mess that was made by stray glue that didn't want to be removed without removing color from the paper.

Inside:

After adding strips of the papers & punched border like we had on the card front, I stamped a message to complete the inside.  The stamp was also from CCC - this time the page called Birthday Female.

Card #4:

I liked the way the paper looked with pink, so made another using pink & black card stock.  As you can see, I cut the patterned paper into strips and glued them in place before adding another piece of matted pink for the focal.  To this, I added a strip of black, a sticker sentiment (which I inked to subdue the white which just seemed out of place) and a couple of flowers from my stash.

Inside:
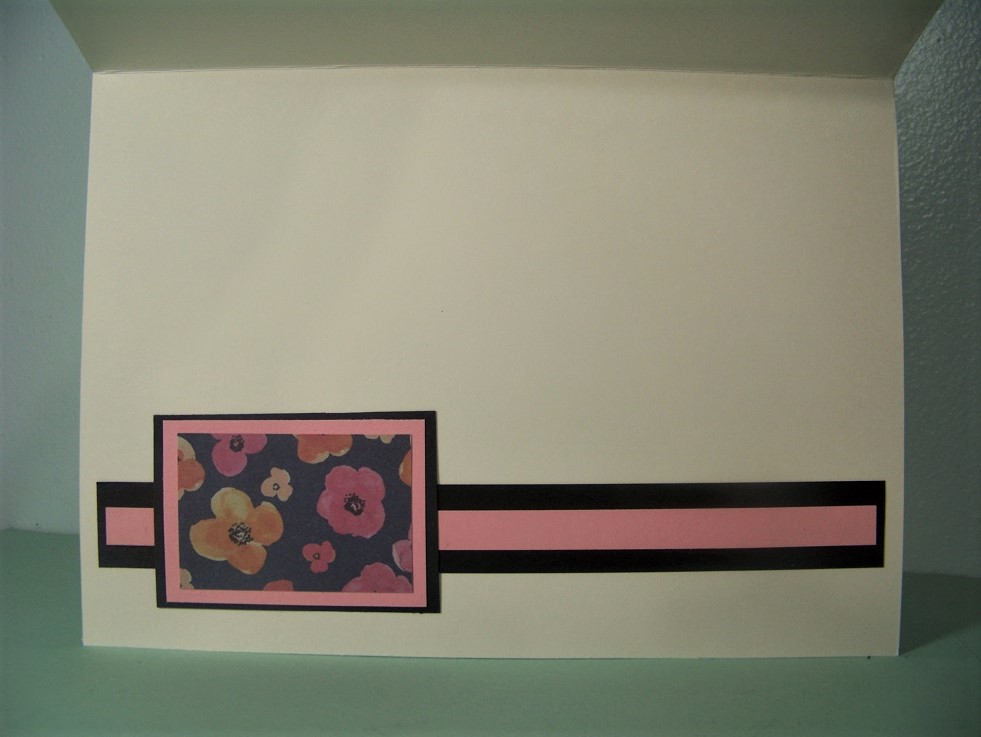
Inside is a simple border using the two card stock colors & a small piece of the patterned paper.  I'm sure I will stamp a message at some point, but was too tired to figure out what message would be best!

Card #5:

I think I like this card the best of all the ones I made with this paper - but it was a REAL challenge.  The flowers are stamped and die cut (Botanical Blooms from HOTP) - then fussy cut to remove the white around them - then colored (which was the hard part!) and placed on a black mat.  Finding colors that even would blend okay with the background was SO HARD!  I ended up using 4 different markers from my Scroll & Brush set (Wheat, Aubergine, Spice, and Baby Pink) which I scribbled on my craft sheet & picked up with my water brush.  It took a lot of work to combine the colors in a way that I thought would work, but I think the effort was worth it.  I liked the narrow border with tan - and tan for the sentiment (which is stickers from my stash), but I didn't have enough.  I finally found a slightly darker glittered card stock which blended well enough to mat the large background.  As you can see, I used multiple mats for this card.  Even though the mats were mostly pretty narrow, having black, white, and tan together seemed critical to making this card look good.

Inside:
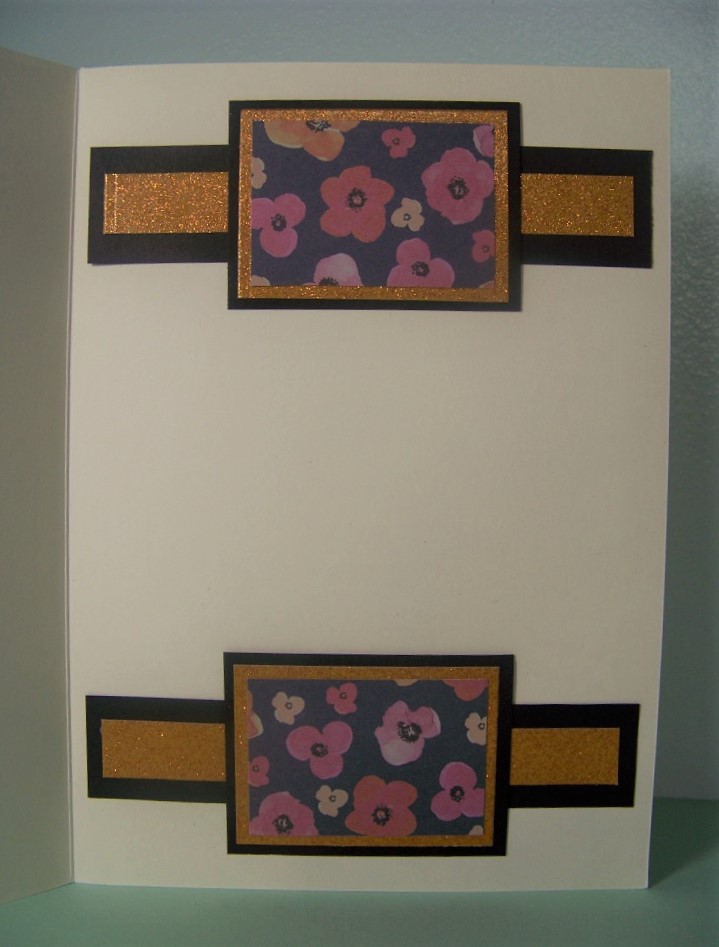
I don't like the inside as well.  The darker glitter card stock doesn't brighten things as much, but I think it will be okay if I go back and color another couple of stamped flowers, mat them with black, & put on each flowered element on the borders.  Then when I add a stamped sentiment, I think all will be well.

Sunday, September 10, 2023

Ugly Papers Challenge

 
I just got a pack of paper for my birthday.  Many of the designs are GORGEOUS - pretty patterns - quite a few even have foiling.  However, there are some papers that I find myself wondering "why on earth did they include these? They're UGLY!"  I've set myself a challenge to use those papers FIRST. Today I have 4 cards made from 1 sheet of "ugly" paper.  Here's the paper I started with:


Now, "ugly" is in the eye of the beholder, and I'm sure many people will think this paper pretty, but when I was leafing through, this was one that jumped out at me as being "ugly".  I'll admit, that when after using it to make cards, I actually found myself liking it more than I thought I would!  I made 4 cards with this sheet of paper - 3 slim line and one 5 x 7.  Now, I know I could have gotten a lot more cards if I had used the paper more sparingly or made A2 sized cards, but the point was to USE IT UP - so why bother with that? 😉  Here are the cards that I made, in no particular order.

Card #1:

As you can see, this first card is a landscape slimline card.  After inking the edges and gluing the background in place, I started working on the border.  I had a piece of leftover card stock from making the card base, but I wanted a purple piece that would pick up the colors in the patterned paper.  SO, I ended up using 3 different types and colors of layered ink - Picked Raspberry Distress Oxide, Dusty Concorde Distress Ink, and a Gray Granite from Stampin Up.  I had the stamped sentiment strip in my stash (my Mom's stamp/die set) but it was on white, so I inked it to make it a more cream color.  Finally, I added a couple of 3-D butterfly stickers that I got at the Dollar Store.  

Inside:

Inside I have more of the same - added a butterfly trail with a dark purple marker.

Card #2:

Here's the one 5 x 7 that I made - very simple - This time I matted the patterned paper with card stock I found in my stash.  I also used that card stock to form the mat for the tag that I cut to hold the greeting (stamped with a HOTP stamp from their Tags & Trims set).  The ribbon is one of my crepe ribbons - I hate to use them because they're not easy to replace and I LOVE them.  I DID think it added to this card, though.

Inside:

Inside is more of the same - as with all of these cards, I expect to stamp a message on the inside of the card, but I ran out of mojo and wanted to get these posted!

Card #3:

This is the one slimline in this set that is vertical.  I usually make vertical cards, so it's a bit surprising that all but one is landscape - but I supposed it's because I felt the patterned paper forced the issue.  Anyway, as you can see, I didn't even ink the edges on this card front - wish I had. The ribbon is another crepe ribbon - love those ribbons!  The sentiment is a die cut from my stash.  It was white, but I used ink to color it before inking the edges in purple & stamping the sentiment (May May Made It - Your Faith is Showing).

Inside:

There's not much to the inside of this card - just leftover scraps used for borders.  I DID ink the edges, and will stamp a message when I get around to it.

Card #4:

This last one was not cut correctly, so I ended up having to cut and extend the paper.  The multi-ribbon border covers that.  It's hard to see in the picture, but the border is actually 3 ribbons stacked on top of each other - a wide purple, a green, and a silver.  The sentiment was already stamped, but I cut shaped the ends and inked it to get the color I wanted.  The flower & bird were leftovers from a previous project.

Inside:


Once again, the inside is pretty simple - an inked patterned paper strip border.

I really have been pleasantly surprised to see how pretty these cards turned out to be when I started with paper that I thought was "ugly". 😁


Saturday, September 9, 2023

Thank You Octagon

Today I needed a thank you card for a gift of craft supplies - so wanted to use some of the materials I was given in it's creation.  SO, the card base (which originally was a 6 x 6 square card), the patterned paper, and the pink card stock all came from that gift - die cut using a Card Making Magic die set called Octagon Box Set 6 X 6.  To this, I added sticky backed rhinestones, and a die cut sentiment cut from scraps in my stash using another of their die cut sets called Ultimate Words.

Inside:

Again I used dies from the Octagon set and the same materials as used on the front.  To this, I added a stamped sentiment from Crafter's Companion Compendium (CCC) page called Thank You.

Wednesday, September 6, 2023

Thank You Pup

I needed a quick thank you card, so went looking through my stash.  I wanted a dog for the focal and found this one - from a Hunkydory Pop-a-Topper set called It's a Cat's and Dog's Life.  I wasn't sure what to do with it, but remembered that I'd been making this type of card (instructions here) & decided to use it.  Instead of patterned paper, I used Adoreable Scoreable (HD printed card stock) and some coordinating plain colored card stock.  I made a couple of modifications.  I just put the focal in place of the diamond shape that usually holds the focal for this type of card - and only used 1/2 the patterned portion on the inside - leaving a framed portion of white where I could write my message.

Inside: